
TL;DR
Freezer burn occurs when foods are exposed to air, leading to dehydration and flavor loss. Using tight wrapping, vacuum sealing, and removing air significantly extends freezer life and preserves food quality.
Ever opened the freezer and found a patchy, leathery surface on your chicken or veggies? That’s freezer burn, a common but avoidable problem. It’s caused by exposure to air, which dries out food and ruins its texture and flavor. But the good news is, with the right wrapping, sealing, and air removal techniques, you can keep your frozen foods fresh for months longer.
In this guide, you’ll learn exactly how to wrap your foods tightly, seal them properly, and remove excess air — the three main steps to prevent freezer burn. Plus, I’ll share recent tech advancements that make preservation even easier for home cooks like you. Ready to keep your freezer treasures in top shape?
Always wrap foods tightly with moisture- and vapor-resistant materials, squeezing out as much air as possible.
Vacuum sealing offers the best protection, extending freezer life by up to 3 times.
Label everything with the date to track storage time and prevent prolonged freezer exposure.
Use high-quality, freezer-safe packaging materials designed to resist moisture transfer.
Modern tools like smart freezers and barrier films are making freezing more reliable and less guesswork.
Preventing Freezer Burn: Wrapping, Sealing, and Air Removal
Freezer burn begins with exposed air. Moisture escapes, oxidation advances, and once-tender food develops dry, discolored, leathery patches. The solution is a disciplined three-part defense: wrap tightly, seal completely, and remove as much trapped air as possible.
Build a defense against dry freezer air
Good wrapping behaves like a snug, moisture-resistant coat. It reduces exposed surface area, limits moisture transfer, and prevents oxygen from reaching the food.
Heavy-duty foil
Molds closely around roasts, breads, and casseroles. Press it against the surface and fold seams tightly. For long storage, combine it with a freezer bag.
Freezer bags
Choose thick bags labeled freezer safe. Flatten contents, push air toward the opening, and close the seal only after excess air is expelled.
Freezer paper
Place the coated side toward the food, fold tightly, and tape the seams. The vapor-resistant layer helps slow dehydration during longer storage.
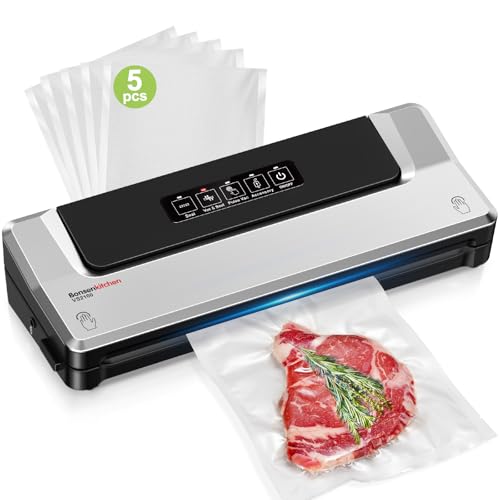
Bonsenkitchen Vacuum Sealer Machine | Compact Food Sealer for Kitchen Storage & Meal Prep | Multiple Modes | External Vacuum System | 5 Bags, Silver
4 Modes : 'Vac & Seal' – one-touch automatic vacuum and seal, perfect for food that does not…
As an affiliate, we earn on qualifying purchases.
As an affiliate, we earn on qualifying purchases.
Remove air and seal like a pro
Every pocket of air creates room for moisture loss. A consistent packing routine matters whether you use a machine, your hands, or a straw.
Portion
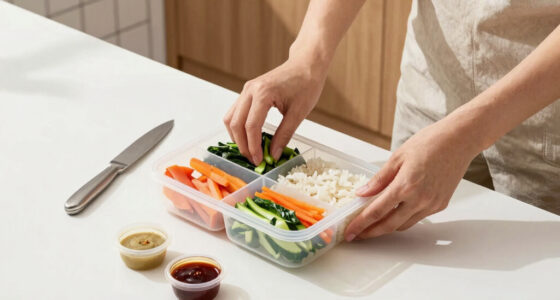
Cool food first, divide it into practical portions, and place it in sturdy moisture-resistant packaging.
Flatten
Spread contents evenly and press the package flat so hidden air pockets can move toward the opening.
Extract
Vacuum the bag, squeeze manually, or use the straw method for a small bag with cool, solid food.
Seal + label
Close the package immediately, inspect the seam, and add the food name and packing date.
For several months of storage, double-wrap vulnerable foods: use a close inner layer to limit air, then add foil, freezer paper, or a heavy-duty bag as the outer barrier.

Glad Press'N Seal Food Plastic Wrap, 70 Square Foot Roll (Package May Vary)
PRESS'N SEAL PLASTIC FOOD WRAP: With a quick press and glide, this food wrap keeps food fresh with…
As an affiliate, we earn on qualifying purchases.
As an affiliate, we earn on qualifying purchases.
Choose the right seal for the job
Vacuum sealing provides the strongest protection, but careful manual air removal remains a useful low-cost option for small portions and occasional freezing.
| Measure | Vacuum sealing | Squeeze + seal | Foil / freezer paper | Thin plastic wrap |
|---|---|---|---|---|
| Air removal | ✓ Nearly complete | ~ Moderate | ~ Depends on fit | ✗ Air pockets likely |
| Moisture barrier | ✓ Excellent | ✓ Good with freezer bags | ✓ Good when layered | ✗ More permeable |
| Ease of use | ✓ Simple with machine | ~ Hands-on effort | ~ Careful folding | ✓ Very easy |
| Typical cost | $50–$200 machine | Low | Low to moderate | Low |
| Best use | Frequent freezing, batches | Small portions, leftovers | Roasts, breads, odd shapes | Short inner layer only |
Packaging determines how long quality lasts
These ranges are practical quality guides, not guarantees. Food type, freshness, seal integrity, and temperature stability all influence the result.

HEAVY DUTY Reusable STAND-UP Bags for Food Storage by Smelly Proof, USA Made, NO PEVA & BPA FREE, Reusable Freezer Bags, Dishwasher-Safe, Triple Zip, CLEAR 5-mils LRG Quart 8.75" x 9.5" – 5pk
HEAVY DUTY – 5 x Stand-Up & Fill / EXPANDABLE BOTTOM – 5 mils Thickness Reusable LARGE QUART…
As an affiliate, we earn on qualifying purchases.
As an affiliate, we earn on qualifying purchases.
New tools reduce the guesswork
Recent advances focus on stronger barriers, easier air extraction, and early warnings when freezer conditions drift away from the ideal range.
Modern sealers
Smaller, more affordable machines make near-complete air removal practical for routine home use and batch preparation.
Barrier films
Improved multilayer films reduce oxygen and moisture permeability, helping food retain color, flavor, and texture.
Smart freezers
Temperature and humidity sensors can flag fluctuations before frost buildup and repeated warming damage stored food.

Vacuum Sealer Machine 75KPa Food with 6-in-1 Dry/Moist Modes & Digital Timer, Compact Lightweight Design, Built-in Cutter + 10 Bags (Black Silver)
【6-in-1 Includes Cutter Functions】Moist & Dry Modes – Maximize freshness for different types of food; Vac Seal- One…
As an affiliate, we earn on qualifying purchases.
As an affiliate, we earn on qualifying purchases.
Your freezer-burn prevention checklist
A few repeatable habits protect more food than complicated techniques used inconsistently.
Why Proper Wrapping Keeps Your Food Fresh and Tasty
Wrapping is your first line of defense against freezer burn. The goal? Create a barrier that blocks out air, moisture loss, and oxidation. Heavy-duty aluminum foil, freezer paper, and specialized freezer bags are your best friends. Think of wrapping like giving your food a snug, waterproof coat — it keeps out the cold, dry air that causes dehydration.
Imagine wrapping a juicy roast tightly in foil, squeezing out excess air before sealing. This prevents dry patches and keeps the meat tender. When you use materials designed for freezing, you cut down on moisture transfer and keep that vibrant color and fresh aroma intact.
Tip: Wrap foods in multiple layers if you’re storing for several months. For example, a batch of homemade soup in a freezer bag wrapped in foil offers extra protection against air.
Sealing Methods That Outperform Ordinary Plastic Wrap
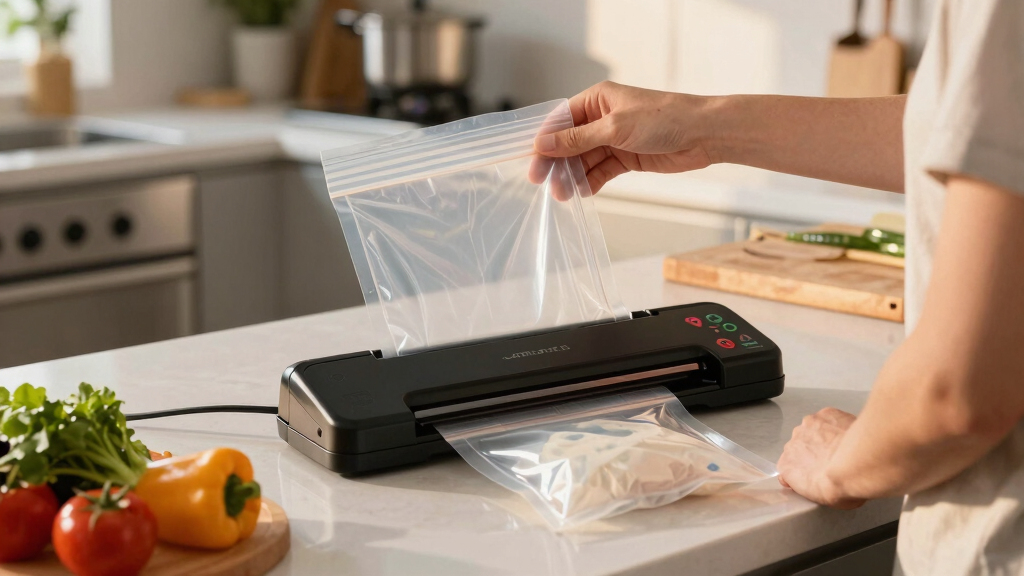
Sealing is where you lock the air out completely. Vacuum sealing is the gold standard — it removes almost all air and forms a tight seal. For home cooks without a vacuum sealer, squeezing out excess air from bags or using a straw to suck out air before sealing works surprisingly well.
Here’s a quick comparison:
| Method | Effectiveness | Ease of Use | Cost | Best For |
|---|---|---|---|---|
| Vacuum Sealing | Highest, removes nearly all air | Simple with a machine | $50-$200 for a good model | Frequent freezer users, large batches |
| Squeezing & Sealing Bags | Moderate, leaves minimal air | Moderate effort | Cheap, reusable bags | Occasional use, small portions |
Vacuum sealing is particularly effective because it pulls out nearly all air, doubling or even tripling storage time. However, the choice of sealing method impacts not just how long food stays good, but also how well it retains its original quality. For example, vacuum-sealed foods tend to maintain their moisture, flavor, and texture better over time, whereas loosely wrapped items may develop freezer burn more quickly due to residual air pockets. Squeezing out air manually can be a practical compromise for small quantities or infrequent use, but it may not prevent freezer burn as effectively as vacuum sealing. The tradeoff lies in convenience versus optimal preservation.
Pro tip: Always press out as much air as possible before sealing, regardless of the method. It makes a real difference.
How to Remove Air and Seal Like a Pro
Removing air from your packaging is key. Here’s a simple step-by-step:
- Place your food in a sturdy, moisture-resistant bag or wrap.
- Squeeze out excess air manually, pressing the bag flat.
- If using a vacuum sealer, follow the machine’s instructions to remove air and seal.
- For small items, insert a straw into the bag’s seal, suck out the air, then quickly seal over the straw hole.
Picture this: you’re packing leftover chili. You fill the bag, press out the air, and seal tightly. The fewer air pockets, the less chance for freezer burn to sneak in. Proper air removal minimizes the space for oxygen, which is a major contributor to freezer burn and flavor degradation. Even tiny air pockets can lead to dehydration over time, so thorough air removal is crucial for long-term quality. The technique you choose impacts how well your food resists drying out and maintains its original texture and flavor. For instance, using a vacuum sealer creates a near-perfect barrier, while manual methods require more care but can still be effective if done correctly. The key is consistency in removing as much air as possible every time you pack your food.
Tip: For extra security, double-wrap your food with foil or heavy-duty freezer paper before sealing.
The Best Packaging Materials to Fight Freezer Burn
Not all plastics are created equal when it comes to freezing. Materials like heavy-duty freezer bags, aluminum foil, and freezer paper are designed to resist moisture transfer and keep air out. Regular plastic wrap or thin bags let air seep through, risking freezer burn.
For example, a thick, vacuum-grade bag maintains its barrier even after multiple uses, while thin plastic might crack and allow air in over time. Barrier films with special oxygen and moisture barriers are the latest in packaging tech, extending freezer life and preserving flavor. These advanced materials are engineered to minimize permeability, which is critical because even tiny amounts of oxygen can cause oxidation and dehydration. Choosing high-quality, freezer-specific packaging ensures your food remains protected from the environment, reducing freezer burn risk and flavor loss. It’s a small investment that pays off by preserving the quality and extending the usability of your frozen foods.
Quick tip: Always look for packaging labeled ‘freezer safe’ or with barrier properties. It’s worth the extra few cents for the quality boost.
Simple Tips to Keep Your Freezer Food Fresh Longer
Even with perfect wrapping and sealing, a few habits make a big difference. Always label your packages with the date — it’s easy to forget how long something’s been frozen. Knowing the storage duration helps prevent prolonged freezer exposure, which can lead to flavor degradation and texture loss even with proper packaging. Keep your freezer at a steady -18°C (0°F). Fluctuations invite frost buildup and freezer burn, which compromise food quality. Don’t overload it; proper air circulation helps maintain consistent temperatures throughout the space, preventing cold spots where ice crystals can form and damage your food. Imagine stacking bags of berries and chicken. If it’s packed tight, air can get trapped, and cold spots form, accelerating freezer burn. Leave some space for air to circulate, and your food stays fresher, longer. Using clear containers or bags to see what’s inside reduces the need to open the freezer frequently, which minimizes temperature fluctuations and helps keep your food in optimal condition.
Pro tip: Use transparent containers or bags to quickly identify contents without opening multiple times, reducing temperature swings and preserving quality.
Latest Tech and Trends Making Freezing Smarter
Modern innovations are making freezer preservation easier and more reliable. Newer vacuum sealers are compact, affordable, and almost foolproof, giving home cooks professional results. These devices reduce user error and consistently remove nearly all air, which is critical for extending freezer life and maintaining food quality. Advanced barrier films now resist moisture and oxygen better than ever, extending freezer life from 3 months to 12 or even 18 months for some foods. This means less frequent re-freezing and better preservation of flavor and texture over time. Plus, smart freezers with sensors monitor temperature and humidity, alerting you to issues before freezer burn can occur. These features help maintain ideal storage conditions, reducing the risk of freezer burn even during power fluctuations or user oversight. Imagine a smart freezer that notifies you when the temperature drifts or humidity spikes — saving your food from freezer burn before it happens. These tools turn freezing from guesswork into science, giving you more control and peace of mind. Keep an eye out for these innovations; they can save you money and frustration in the long run.
Frequently Asked Questions
How can I tell if my frozen food has freezer burn?
Look for dry, discolored patches, often whitish or leathery. The texture might be rough or icy. These spots indicate dehydration caused by air exposure.Does freezer burn affect food safety?
No, freezer burn doesn’t make food unsafe. It mainly affects taste, texture, and appearance. You can still eat it, just cut away the affected areas if needed.What is the best way to prevent freezer burn?
Use vacuum sealing or tightly wrap foods in moisture-resistant materials, squeezing out as much air as possible before sealing. Proper packaging is your best defense.Can I still eat food with freezer burn?
Yes, but the quality suffers. It might be dry or leathery. Cutting away affected parts usually restores a better texture and flavor.How long can I store different foods in the freezer without freezer burn?
Typically, 3-6 months for meats and seafood, up to 12 months for fruits and vegetables, depending on packaging and storage conditions.Conclusion
Preventing freezer burn boils down to one thing: keep air out. Whether you’re wrapping a steak or sealing berries, tight packaging and proper air removal are your best defenses. With better materials and a few smart habits, your frozen foods will stay fresh, flavorful, and safe longer.
So grab that vacuum sealer, choose the right packaging, and give your freezer a little extra care. Your future self will thank you with every tasty bite.