TL;DR
Calibrating your instant-read thermometer at home is quick and easy using ice water and boiling water tests. Regular calibration ensures your readings are spot-on, helping you cook safely and perfectly every time.
Ever grab your thermometer, only to wonder if it’s actually telling the truth? It’s a common doubt, especially when cooking meats or making candy. The good news? You can easily check and fix its accuracy at home, saving you from undercooked chicken or overdone roast.
Knowing how to calibrate your instant-read thermometer makes all the difference. It’s about trust—trusting that your device gives you the right number, so your food reaches the perfect temperature every time. No fancy tools, no special skills—just straightforward steps that fit right into your kitchen routine.
Regularly calibrate your thermometer—before first use, monthly, and after impacts—to keep readings accurate.
Use the ice water test for low-temperature accuracy, ensuring your device reads 32°F (0°C) when immersed properly.
For high-temperature calibration, boiling water works, but remember altitude affects boiling point—adjust accordingly.
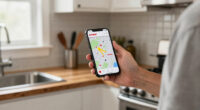
Many digital thermometers now include calibration features, making home adjustments straightforward.
A miscalibrated thermometer can lead to unsafe cooking or ruined recipes—trust but verify your device’s accuracy.
How to Calibrate an Instant-Read Thermometer at Home
Calibrating your instant-read thermometer takes only a few minutes with ice water and boiling water. The payoff is bigger than the task: safer food, better texture, and readings you can actually trust when dinner is on the line.
Crushed ice plus cold water creates the simplest low-temperature accuracy check.
At sea level, boiling water verifies high-heat accuracy for roasts, candy, and baking.
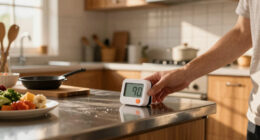
Give the probe time to settle before judging whether the reading is accurate.
Expected ice-water reading when the probe is centered in the slush.
Expected boiling-water reading before adjusting for altitude.
Best cadence for frequent cooks, plus after drops or heavy use.
A small drift can change safety calls and recipe outcomes.
Accuracy is a food-safety tool, not a kitchen nicety.
A thermometer can drift after drops, bumps, steam exposure, or ordinary aging. Calibration confirms whether the number on screen still matches a known reference point, so you can avoid undercooked poultry, dry roasts, failed candy stages, and guesswork.
Cook to the real internal temperature
When the probe is off by several degrees, safe doneness decisions become unreliable, especially for chicken, leftovers, and ground meats.
Protect texture and timing
Accurate readings help you pull steak, fish, custards, and baked goods at the intended moment instead of overshooting.
Trust the tool before the meal
A quick calibration check turns uncertainty into a simple offset, adjustment, or replacement decision.

Pinpoint® Instant Read Calibration Thermometer
Resolution to one-tenth of a degree (00.1°F or 00.1°C), Fahrenheit or Celsius display
As an affiliate, we earn on qualifying purchases.
As an affiliate, we earn on qualifying purchases.
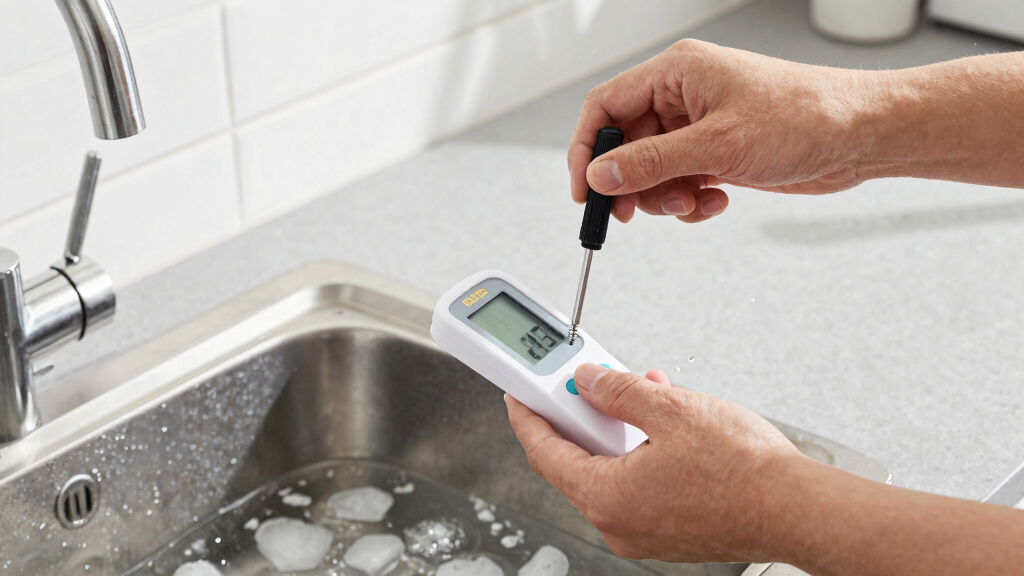
The ice-water test is the home-cook calibration baseline.
Use crushed ice, cold water, and patience. The probe should sit in the center of the slush without touching the glass, because contact with the container can skew the reading.
Build the slush
Fill a glass with crushed ice, add cold water, and stir until the mixture is thick and evenly chilled.
Place the probe
Insert the stem into the center of the ice water, keeping it away from the sides and bottom.
Wait for stability
Hold steady for about 30 seconds, or until the display stops moving and settles.
Adjust or note
If it does not read 32°F, calibrate the device if possible or record the difference for future cooking.
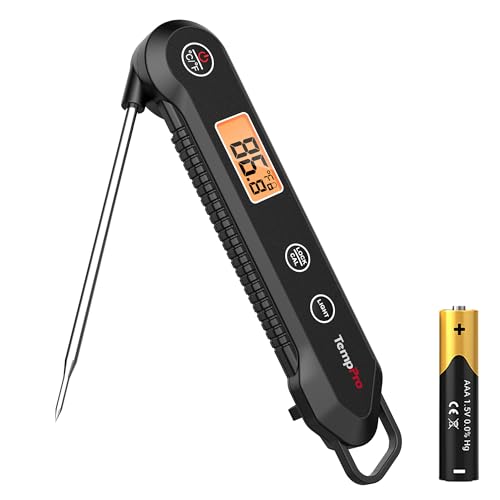
TempPro Digital Instant Read Meat Thermometer for Grilling Waterproof Kitchen Food Thermometer with Calibration Backlight Baking Bread Candy Thermometer Cooking Tools Utensils (Previously ThermoPro)
Fast and Accurate: 1 second response time! Meat thermometer digital features 3.9 inches food grade stainless steel probe…
As an affiliate, we earn on qualifying purchases.
As an affiliate, we earn on qualifying purchases.
Boiling water checks the other end of the range.
For roasts, baked goods, candy, and boiling tasks, a high-temperature check helps confirm the thermometer is accurate beyond the ice point. The catch: water boils at lower temperatures as elevation rises.
At 5,000 feet, water boils near 210°F.
Bring water to a rolling boil, insert the probe without touching the pot, wait for stability, then compare against your local boiling point rather than assuming 212°F everywhere.
Clean
Start with a clean probe and food-safe container.
Test
Use ice water first, then boiling water if needed.
Compare
Measure against 32°F or the local boiling point.
Correct
Adjust, reset, or record the offset.
Cook
Use the verified reading with confidence.

Alpha Grillers Meat Thermometer Digital – Instant Read Food Thermometer for Cooking & Grilling – Professional Kitchen Birthday Gifts for Men, Him, Dad, Husband, Boyfriend
Instant Read Food Thermometer | Our instant read thermometer features a temperature probe and advanced, highly accurate technology…
As an affiliate, we earn on qualifying purchases.
As an affiliate, we earn on qualifying purchases.
Which calibration check should you use?
Most home cooks only need ice water and boiling water. Calibration kits can help with professional precision, but they are rarely necessary for routine kitchen use.
| Method | Best For | Reference Point | Home Friendly | Watch Out For |
|---|---|---|---|---|
| Ice Water | Low-temperature accuracy, cold storage, routine checks | 32°F / 0°C | ✓ Very easy | Probe touching glass or too little ice |
| Boiling Water | High-temperature accuracy for cooking and baking | 212°F / 100°C at sea level | ✓ Easy | Altitude lowers boiling point |
| Calibration Screw | Analog thermometers and some probe models | Adjusted to test result | ~ Model dependent | Small turns can overcorrect |
| Digital Reset | Modern instant-read thermometers with calibration mode | Device guided | ~ Check manual | Buttons vary by manufacturer |
| Special Kit | Professional kitchens and high-precision workflows | Kit specific | ✗ Usually unnecessary | Extra cost for casual cooking |
Altitude shifts the boiling-water target.
Use 212°F only at sea level. At higher elevations, compare your thermometer to the local boiling point so a correct reading does not look falsely low.

BOMATA Digital Water Thermometer for Water, Liquid, Candle and Cooking. Instant Read Food Thermometer Waterproof IPX7 with Long Probe for Cooking, Meat, BBQ! T101 (Black Color)…
[ Waterproof – IPX7 ] With the strong waterproof ability, it’s very suitable for measuring the temperature of…
As an affiliate, we earn on qualifying purchases.
As an affiliate, we earn on qualifying purchases.
Make accuracy a small repeatable habit.
Thermometers do not need constant fussing, but they do deserve regular verification. If your model cannot be adjusted and the offset is large or inconsistent, replacement is safer than mental math.
Trust starts on day one
Verify the thermometer before relying on it for poultry, roasts, candy, or baked goods.
Catch slow drift early
Monthly checks keep small changes from quietly affecting recipes and safety decisions.
Drops deserve a retest
A bump, fall, or hard drawer slam can knock a probe out of alignment.
Why calibrate your thermometer? It’s more than just accuracy
Your thermometer’s job is simple: tell you the temperature. But even the best device can drift over time, especially after drops or bumps. This drift can cause your device to give inaccurate readings, which might seem minor but can have significant consequences. For example, a misreading of just a few degrees could mean the difference between a safely cooked steak and one that’s undercooked, risking foodborne illness. Conversely, overestimating temperature could lead to overcooking, resulting in dry, tough meat or burnt baked goods. Calibration ensures your readings are reliable, so you can make informed decisions about cooking times and temperatures. In the long run, this not only improves the safety of your food but also enhances your confidence and consistency in the kitchen. It’s a small step that pays off by preventing costly mistakes and ensuring your culinary results meet your expectations.
How to calibrate your instant-read thermometer in 3 simple steps
- Prepare your ice water: Fill a glass with crushed ice and cold water, then stir until it reaches a slushy consistency. This mixture creates a stable, low-temperature environment close to 32°F (0°C). Insert the thermometer stem into the mixture, making sure it doesn’t touch the sides or bottom of the glass, as contact with the container can skew the reading. Wait at least 30 seconds for the thermometer to stabilize. This step is crucial because it checks the accuracy at the freezing point, a common temperature for many cooking processes like chilling foods or making ice cream.
- Check the reading: The thermometer should read 32°F (0°C). If it doesn’t, note the difference. For example, if it reads 30°F, it’s 2 degrees low. Understanding this discrepancy allows you to interpret future readings more accurately or adjust the device if possible. This calibration at the freezing point is fundamental because it ensures your device is accurate at the lower temperature range, which is critical for food safety in cold storage and certain cooking methods.
- Adjust or note the discrepancy: If your thermometer has a calibration screw or dial, turn it to align with 32°F. If not, keep the noted difference in mind for future reference during cooking. Repeat the test to confirm the adjustment, ensuring your device is reliable. Regular checks like this prevent gradual inaccuracies from affecting your cooking, especially when precise temperatures matter, such as in sous vide cooking or candy making. This step ensures your thermometer remains trustworthy over time.
Repeat the process with boiling water for high-temperature calibration, especially if you cook a lot of meats or baked goods. This test helps verify readings near 212°F (100°C) at sea level, which is vital for ensuring meats are safely cooked or baked goods are properly finished. Remember, both tests complement each other to provide a comprehensive calibration of your device across the temperature spectrum.
Boiling water test: calibrate for high temps (and watch out for altitude!)
Boiling water calibration is straightforward but needs a quick tip: altitude affects boiling point. At sea level, water boils at 212°F (100°C), which is the standard reference point for high-temperature calibration. However, at higher elevations, the boiling point drops—about 210°F (99°C) at 5,000 feet—meaning your thermometer might seem off if you don’t account for this. This variation can lead to inaccurate readings during high-heat cooking, affecting everything from boiling pasta to verifying the doneness of cooked meats. To perform this test accurately, bring water to a rolling boil at your location, then insert your thermometer without touching the pot’s bottom or sides, which could cause false readings. Wait for 30 seconds and check if it reads close to the local boiling point. If it doesn’t, note the difference and adjust your expectations or device accordingly. Many digital thermometers with calibration features allow you to reset or calibrate now, ensuring your high-temperature measurements remain accurate regardless of altitude. This step is essential because it ensures your thermometer provides reliable data for critical cooking tasks where safety and precision are paramount.
Conclusion
Calibrating your instant-read thermometer is a small step with a big payoff. It’s about trusting your tools and, in turn, trusting your food’s safety and quality. A quick check with ice water and boiling water keeps your cooking on point—no fancy equipment needed.
Next time you cook, take a moment to verify your thermometer. It’s a simple habit that makes every meal safer, tastier, and more consistent. Your kitchen deserves tools you can trust—make calibration part of your routine.